

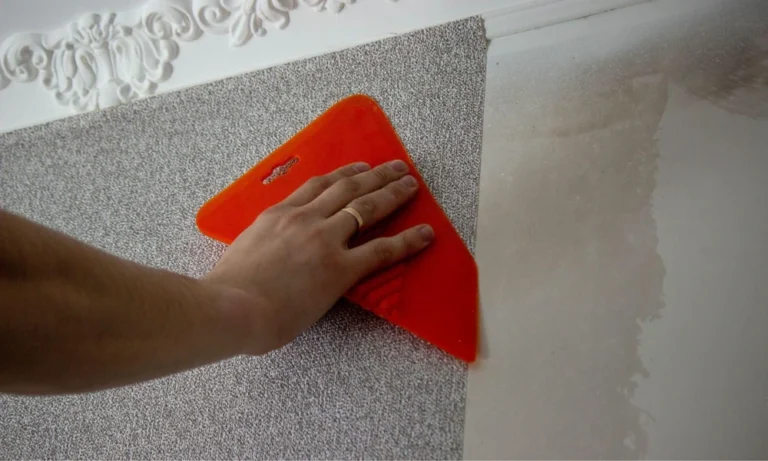
Surface preparation matters because bedroom paint needs a clean, dry and even base to settle properly. It also stops cracks, stains and rough patches from showing through the finished colour.
A bedroom may have attractive shades, yet the result can still look untidy when the wall underneath has not been treated. Inspection, repair, sanding and priming should come before the final coat.
Inspect Every Wall Carefully
Check the walls in daylight, including corners, areas behind furniture and sections near windows or attached bathrooms.
Look for loose paint, hairline cracks, nail holes, powdery patches, damp marks and uneven plaster. Each issue needs separate attention. Painting directly over them may leave bumps, visible lines or recurring stains.
Deal with Dampness before Painting
Moisture should be traced to its source before cosmetic work begins. A damp wall is not ready for putty, primer or paint.
While arranging painting services, request a wall assessment before colour selection and application. The inspection can help identify whether a mark is caused by seepage, leakage, poor ventilation or an old coating. Corrective work should be completed, and the wall allowed to dry, before the next stage.
Remove Weak Paint and Surface Dust
A fresh coat cannot form a sound base over paint that is already peeling or chalking. Loose material must be scraped away.
After scraping, sand the surface to soften raised edges. Dust left behind can interfere with the next layer, so wipe the wall clean. Protect switchboards, flooring, wardrobes and fixed fittings before this work starts.
Repair Cracks and Uneven Patches
Wall repair should be completed in stages. Filling every defect at once without checking depth or drying may create fresh ridges.
The preparation may involve:
- Opening and cleaning visible cracks
- Filling dents, holes and low areas
- Sanding repaired portions evenly
- Removing dust before primer
- Checking that the surface is dry
Inspect the repaired wall from the side. Angled light often reveals waves and rough patches that are difficult to notice from the front.
Test Colours on the Prepared Wall
Shade testing is more useful after stains, old colours and patchy areas have been covered with a suitable base.
When planning a bedroom wall colour combination, apply the shortlisted shades on different walls. Light near a window may make a colour appear cooler or brighter, while a shaded wall can deepen the same tone. Check samples beside the flooring, wardrobe and curtains before approval.
Apply Primer for an Even Base
Primer helps create a uniform surface before the finishing coats are applied. It can reduce uneven absorption across repaired and untouched areas.
The primer should be compatible with the wall condition, putty and chosen paint. Allow it to dry as directed, then inspect the surface again. Any remaining dents or sanding lines should be corrected before colour application.
Choose a Suitable Interior Product
Nerolac Beauty Smooth Finish may be considered where a smooth matt interior finish is preferred for bedroom walls. Its relevance comes after preparation, since interior emulsion cannot replace crack repair, moisture treatment or priming. The selection should reflect the desired finish and maintenance needs.
Final Thoughts
Surface preparation supports cleaner colour, better adhesion and a more even bedroom finish. Inspect the walls, correct dampness, repair defects, sand carefully and prime before painting. Once the base is stable, the chosen colours can be judged and applied with fewer visible interruptions.