

The process of establishing a koi pond brings excitement; however, proper water preparation remains essential for fish survival. Preparing your pond correctly establishes conditions that produce stronger koi in addition to better water quality while reducing future maintenance requirements.
The process of properly initiating koi pond stocking follows several vital steps which will lead to successful outcomes.
Ensure Your Pond Is Ready
Think about introducing fish only when your pond has all the necessary components for proper fish support. Your aquatic pond setup demands an examination of tank dimensions, depth requirements, and filtration systems alongside adequate aeration capacity.
Koi require three feet of space to thrive, so you should provide at least three feet of depth in their habitat because colder temperatures force them to require deeper water to survive through winter.
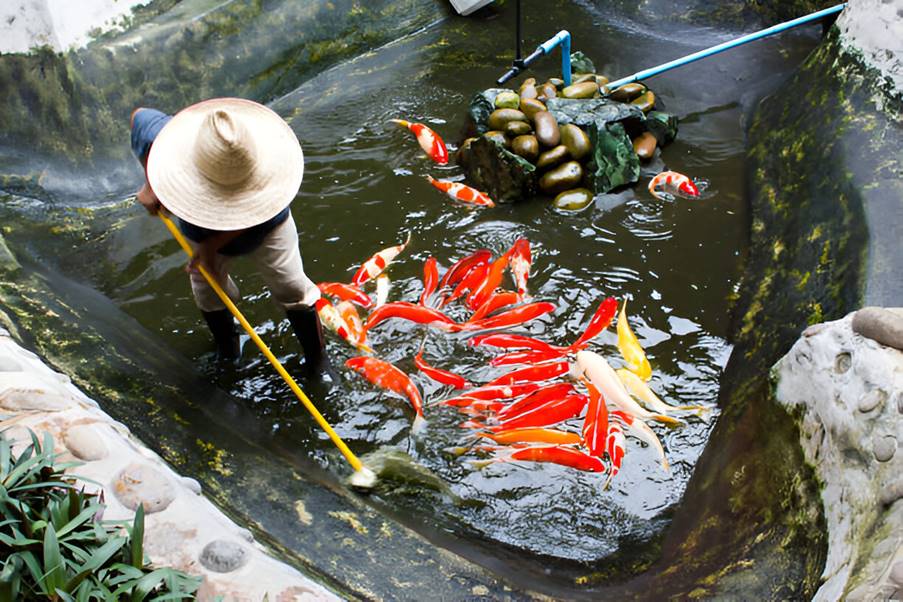
To preserve oxygen stability and stop stagnant conditions, the pond requires maintenance through a pond pump that ensures continued water circulation. When it comes to maintaining the best possible condition of your koi pond, you can trust That Pond Guy to give you high-quality equipment and provide pond solutions.
Establish Beneficial Bacteria
When you create a new pond, it does not contain the essential bacterial foundation necessary for decomposing fish waste and breaking down harmful toxins. A bacteria starter culture serves as a catalyst for establishing the nitrogen cycle, which improves fish habitat conditions in your koi’s environment.
The required time for the bacterial colony to develop is about a few weeks, during which you need to exercise for endurance. A tiny amount of fish food introduced into the pond will support bacterial growth to establish a balanced aquarium environment before your fish arrive.
Test and Balance Water Quality
Water parameters play a vital role in koi health. Before adding fish, test for:
- pH Levels: The ideal pH conditions in koi ponds fall within 6.5 to 9; however, a pH level of 7 provides the most beneficial outcomes.
- Ammonia, Nitrite, and Nitrate: The test results need to display zero ammonia combined with zero nitrites but also demonstrate minimal nitrates in water.
The change of water chemistry remains vital to maintain proper safety conditions in water.Regular testing ensures that the environment remains stable for your fish.
Acclimate and Introduce Your Koi
When your pond setup process ends, you can begin putting fish into their new aquatic residence. To transfer operations smoothly, the following step-by-step order must be used:
- The transport bag containing koi should rest on the pond surface, where fish develop thermal acclimation during a 30-minute interval.
- Slowly add pond water into the bag for 15 to 20 minutes while distributing it every 5 minutes.
- Gently scoop the fish from the net and place them in the pond while being careful to discard the netting bag water instead.
- Check your koi after the intro for signs of discomfort, including unfamiliar swimming patterns or appetite reduction.
Maintain a Healthy Environment
Your pond needs continuous care to remain in good condition. Regular water tests, system cleaning, and weekly replacement of 10-20% of pond water help maintain optimal water quality. Extra food should be avoided because it leads to water quality deterioration.
Comments are closed.